
Guide: Upgrading a Low-Budget Home Server: Swapping to a Powerful Mini-ITX NAS Motherboard
- Processor: Integrated Intel Core i5-8265U.
- SATA Storage: 8 SATA outputs dedicated to hard drives.
- M.2 Expansion: 2 onboard M.2 slots for high-speed SSDs.
- PCIe Versatility: 1 PCIe X4 slot (can be used for a third M.2 SSD via an adapter or a 10G SFP+ LAN card).
- Networking: 2 integrated 2.5 GbE LAN ports.
- Connectivity: 2 USB 3.0 ports on the back, a front-panel USB 3.0 header, 1 HDMI, 1 DisplayPort, and a Micro SD card slot.
- Open the server case and disconnect all power, SATA, and front-panel cables from the existing motherboard (in this case, an Intel N5105-based BK-NAS-N5105-MB).
- Unscrew and remove the PCIe LAN card.
- Unscrew the old motherboard, carefully lift it out, and remove the old I/O shield.
- Remove the M.2 SSD and RAM memory modules from the old Intel N5105 board.
- Install them directly onto the new CW-NAS-WL motherboard.
- Snap the new I/O shield into the back of the case.
- Place the motherboard inside, align it with the standoffs, and tighten all the screws.
- Plug in the front-panel cables (power switch, reset switch, and power/HDD indicators).
- Install a 10G SFP+ PCIe LAN card into the PCIe slot for lightning-fast network speeds.
- Connect the main motherboard power cables.
- Plug in the 8 SATA cables for your hard drive array.
- Connect the front-panel USB 3.0 cable.
Photos: Pictures to see how it looks assembled.
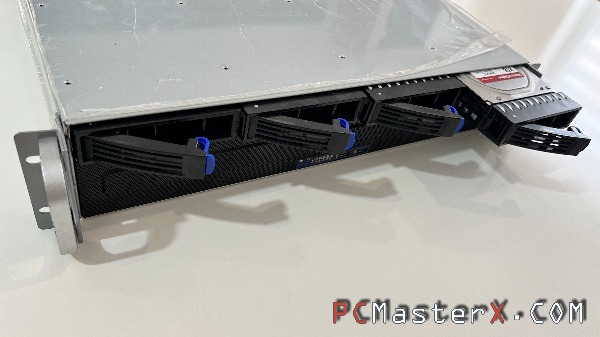
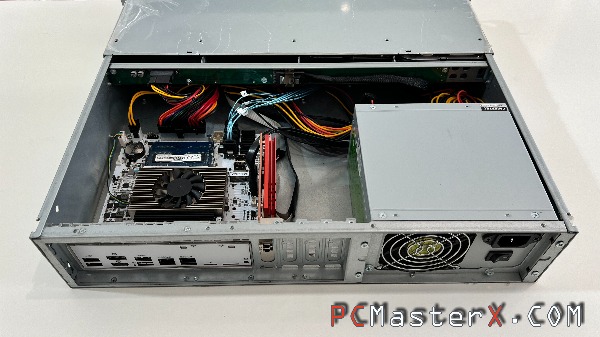
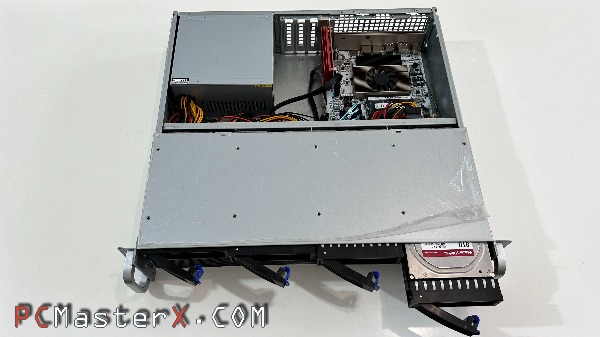
Mainboard: CW-NAS-WL This motherboard is a small Mini ITX, has a specific white color, has 8 SATA outputs for hard drives, it comes with a Core i5 8265U processor, has two M.2 slots for SSDs, it is possible to add a third M.2 SSD to the PCIe x4 slot with an M.2 adapter or to put a 10G SFP+ LAN card in that PCIe slot. The board has two integrated 2.5GbE LAN ports, and it also has a slot for a micro SD card. It has two USB 3.0 ports on the back panel, but the motherboard also has a USB 3.0 output, for connectors located on the front panel of the server case.
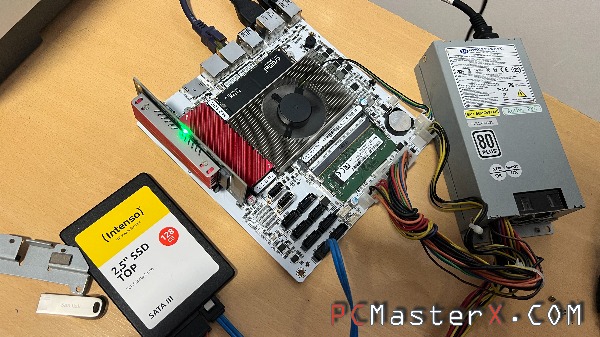
Motherboard being tested before being inserted into a 2U Rackmount NAS enclosure.
---